

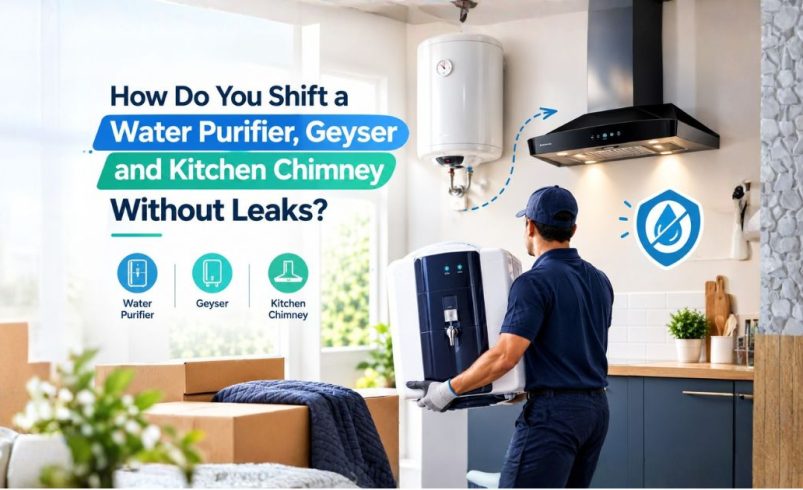
Summary – Shifting a water purifier, geyser, and kitchen chimney requires careful disconnection, secure packing, and correct reinstallation. To prevent leaks and damage, isolate water and power supplies, protect pipes and electrical components, label fittings, and arrange qualified technicians for plumbing or electrical work. When booking domestic moving services, confirm whether appliance disconnection, transportation, reinstallation, and leak testing are included in the quotation.
These appliances need different handling methods. A water purifier has filters, tubing, and water connections; a geyser contains plumbing components and may involve electrical or gas connections; and a kitchen chimney has delicate panels, wiring, filters, and exhaust ducting. Preparing each appliance correctly can help prevent costly repairs after moving into your new home.
Why Do These Appliances Need Special Care During Home Shifting?
Household appliances can be damaged even when the rest of the relocation goes smoothly. Loose water connections may cause leakage, poorly secured equipment can fall during handling, and incorrectly reinstalled electrical appliances can become unsafe.
For example, a family moving from a Mumbai apartment to a new home in Pune might need to transport an RO purifier, a wall-mounted storage geyser, and a ducted kitchen chimney. Simply wrapping these appliances and loading them into a vehicle is not enough. Each unit must be prepared according to its design and manufacturer’s instructions.
Professional domestic moving services can help with packing and transportation, but plumbing, electrical disconnection, and specialist installation may require separate technicians.
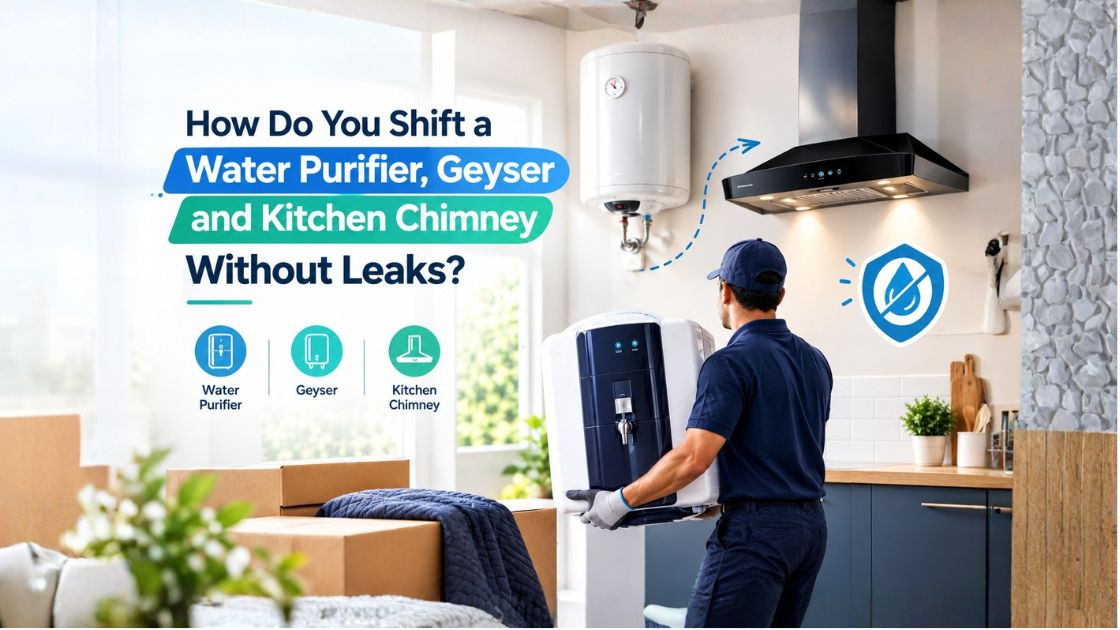
How Do You Shift a Water Purifier Without Water Leaks?
A water purifier should be disconnected carefully to protect its filters, storage tank, tubing, and connectors. The exact procedure depends on whether it is an RO purifier, UV purifier, or another model.
1. Turn Off the Water Supply and Power
Switch off the purifier and isolate its electrical supply. Close the dedicated water inlet valve before disconnecting any pipework.
Never pull the purifier away from the wall while its water tubing or power cable remains connected. Doing so can damage the fittings and create leaks during reinstallation.
2. Drain the Water and Disconnect the Pipes
Follow the manufacturer’s instructions to empty the storage tank and release remaining water safely. Keep a small container and absorbent cloth nearby to collect residual water.
Label the inlet, outlet, and drain connections before disconnecting them. Photographing the original arrangement can also help the technician reconnect the correct pipes at the new property.
3. Protect the Filters and Connectors
Secure loose tubing and protect the filter housing, membrane assembly, and electrical components from impact. Do not assume every filter can be removed or transported in the same way.
Some manufacturers specify particular storage or handling conditions for cartridges and membranes. Check the model’s manual before removing them.
4. Pack and Reinstall the Purifier
Use the original packaging where available, or suitable cushioning that protects the casing without placing pressure on fragile connectors.
After relocation, have the purifier installed on a secure surface. Check the inlet, outlet, drain line, and fittings for leakage. Follow the manufacturer’s flushing and commissioning instructions before drinking the purified water.
If your new home has different water pressure or plumbing arrangements, ask the installer to check compatibility before reconnecting the purifier.
How Do You Shift a Geyser Safely?
Geysers require additional care because they combine water, heat, pressure, and potentially electricity or gas. A storage water heater can also be heavy, particularly when its tank has not been completely drained.
1. Isolate the Power or Gas Supply
For an electric geyser, switch off the appropriate circuit and verify that the appliance is safely isolated before work begins. For a gas-powered unit, have a qualified technician isolate and disconnect the gas supply.
Do not attempt unfamiliar electrical or gas work yourself. Incorrect disconnection can create serious safety risks.
2. Allow the Water to Cool and Drain the Tank
Allow hot water to cool before removal. The inlet should be isolated, and the tank should be drained using the manufacturer’s specified procedure.
A qualified plumber or appliance technician can help manage drainage safely, particularly where valves are difficult to access or the installation is old.
3. Remove the Geyser With Proper Support
Once the unit is safely disconnected and drained, it must be supported before its mounting fasteners are removed. Never rely on another person to hold a heavy geyser while you loosen its wall brackets without a proper handling plan.
Inspect the mounting brackets and wall condition before considering reinstallation. A new bathroom may have a different wall structure or mounting arrangement, so the previous fittings should not automatically be reused.
4. Reinstall and Check for Leaks
Have a qualified technician reconnect the inlet, outlet, and required safety components. The installation must follow the manufacturer’s instructions and applicable electrical and plumbing requirements.
For an electric storage geyser, the tank must be filled completely and checked for the correct water flow before power is restored, following the manufacturer’s specified procedure. Operating an empty tank can damage the heating element.
Check the plumbing connections and safety valve for leaks. If you notice dripping, unusual noises, electrical issues, or abnormal operation, stop using the appliance and arrange professional inspection.
How Do You Shift a Kitchen Chimney Without Damage?
Kitchen chimneys have several components that need protection during transportation, including the motor, glass panel, control switches, grease filters, and exhaust duct.
1. Disconnect the Electrical Supply
Switch off and isolate the power before removing the chimney. Electrical connections should be handled by a qualified person when wiring or fixed connections are involved.
2. Remove the Filters and Duct Carefully
Remove the grease filters according to the manufacturer’s instructions. If the chimney has a ducted exhaust, disconnect the duct without bending, crushing, or damaging its joints.
Keep screws, clamps, brackets, and small accessories in labelled bags. Photograph the duct layout and mounting points before dismantling the unit.
3. Protect Fragile Components
Wrap glass panels and other delicate surfaces with suitable protective material. Secure movable components, and avoid placing heavy objects on the chimney during transportation.
The motor and control panel should be protected against impact and moisture. Do not pack the appliance while grease or cleaning liquid remains on its components.
4. Reinstall and Test the Exhaust
Ensure the chimney is securely mounted and its duct connections are properly aligned. Poorly fitted joints can allow exhaust air to escape into the kitchen instead of being directed outside.
After installation, check the electrical connection, lighting, fan operation, and exhaust performance. Ductless models use a different filtration arrangement, so their installation and filter requirements may differ.
What Packing Materials Should You Use for Appliance Shifting?
The right packing materials reduce the risk of scratches, broken panels, and damaged fittings during transportation.
Consider preparing:
- Sturdy cartons or original appliance packaging.
- Protective foam or suitable cushioning materials.
- Bubble wrap for appropriate exterior surfaces.
- Labels for pipes, brackets, screws, and accessories.
- Sealable bags for small components.
- Absorbent cloths for residual water.
Do not use packing material that could damage a surface, trap moisture around sensitive components, or place excessive pressure on connectors. Heavy appliances should be secured properly in the moving vehicle rather than relying on wrapping alone.
Before moving day, take photographs of each appliance and record any existing scratches or damage. This makes it easier to distinguish pre-existing issues from damage that may occur during relocation.
What Mistakes Should You Avoid When Moving These Appliances?
Several common mistakes can turn an otherwise straightforward relocation into an expensive repair job.
Avoid the following:
- Disconnecting pipes before closing the water supply.
- Moving a purifier without managing residual water.
- Pulling appliances away from walls while cables remain connected.
- Removing a geyser without checking its weight and mounting support.
- Reusing damaged hoses, seals, or connectors.
- Leaving kitchen chimney duct joints loose after installation.
- Restoring power before the geyser tank is properly filled.
- Assuming appliance installation is included in a moving quotation.
One particularly important mistake is treating transportation and installation as the same service. A moving team may be responsible for packing and delivery but may not include a licensed electrician, plumber, or brand-authorized technician.
How Can You Check for Leaks After Reinstallation?
Before using your appliances normally, inspect the relevant connections and follow the manufacturer’s commissioning instructions.
For a water purifier, check the inlet, outlet, drain line, and filter housing for moisture or dripping.
For a geyser, have the technician inspect the inlet and outlet connections, mounting stability, and safety valve. Confirm that the tank has been filled correctly before restoring power to an electric model.
For a kitchen chimney, inspect the duct joints, check that the unit is firmly mounted, and confirm that air is exhausting correctly.
Do not ignore a small leak. A slow drip behind a kitchen cabinet or bathroom geyser can damage walls, furniture, and electrical fittings over time. If leakage persists, isolate the relevant supply where safe and call a qualified professional.
Should You Hire Domestic Moving Services for Appliance Shifting?
Hiring domestic moving services can simplify the packing, loading, transportation, and delivery of household appliances, particularly when moving between cities or relocating a fully furnished home.
However, confirm exactly what the provider offers. Some moving companies handle appliance packing and transportation but charge separately for disconnection and reinstallation.
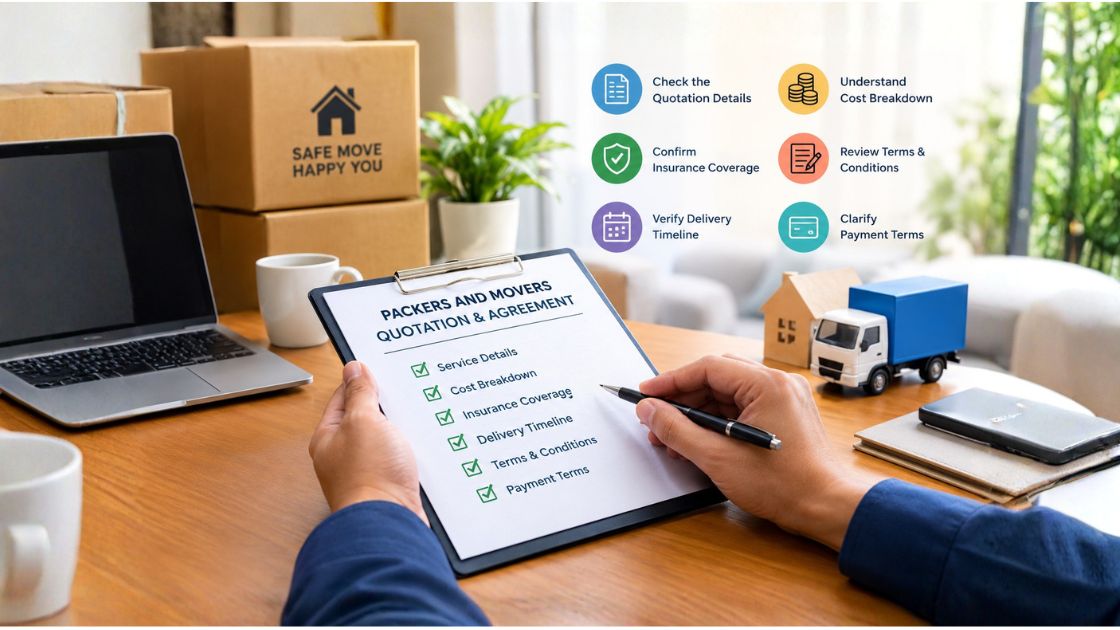
Before booking, ask:
- Is appliance packing included in the quotation?
- Will the team handle wall-mounted appliances?
- Are plumbing and electrical disconnection services available?
- Will a qualified technician reinstall the appliances?
- Are post-installation leak checks included?
- What happens if an appliance is damaged during transit?
For example, someone shifting from Mumbai to Nashik may need the moving company to transport the appliances while a local technician handles installation at the destination. Agreeing on these responsibilities beforehand helps prevent delays and confusion.
If you are comparing domestic relocation services in Mumbai, Pune, Delhi, Bangalore, or other Indian cities, compare the full scope of work rather than choosing a provider solely on price.
Planning a Home Relocation? Arrange Safe Appliance Handling Before Moving Day
Your water purifier, geyser, and kitchen chimney need more than careful packing. They need the correct disconnection procedure, secure transportation, and safe reinstallation at your new home.
Before finalizing your move, request a detailed quotation for domestic moving services and confirm whether appliance packing, specialist disconnection, reinstallation, and leak testing are included. Share your pickup and delivery locations, list the appliances you need to move, and clarify any additional technician charges in advance.
Taking these steps before moving day can help protect your appliances, avoid preventable plumbing problems, and make your household relocation easier to manage.
Frequently Asked Questions
Can I move an RO water purifier without removing its filters?
In some cases, the purifier can be transported with its filters installed, but the correct procedure depends on the model. Follow the manufacturer's instructions for draining, positioning, and protecting the filter assembly during transport.
Should a geyser be drained before shifting?
A storage geyser generally needs to be safely isolated and drained before removal. Because the water may be hot and the appliance heavy, a qualified technician should manage the process when necessary.
Can I install a geyser in a different bathroom?
Yes, in many cases, but suitability depends on the new wall, mounting arrangement, water connections, electrical supply, and safety requirements. Have a qualified installer assess the location before installation.
Do domestic moving services include appliance installation?
Not always. Packing and transportation may be included, while plumbing, electrical disconnection, and reinstallation may be charged separately. Confirm the inclusions and exclusions in writing before booking.
How can I prevent water leaks after shifting?
Use the correct fittings, replace damaged seals where necessary, follow the manufacturer's installation instructions, and inspect every relevant connection after installation. Do not use an appliance until required safety and commissioning checks are complete.